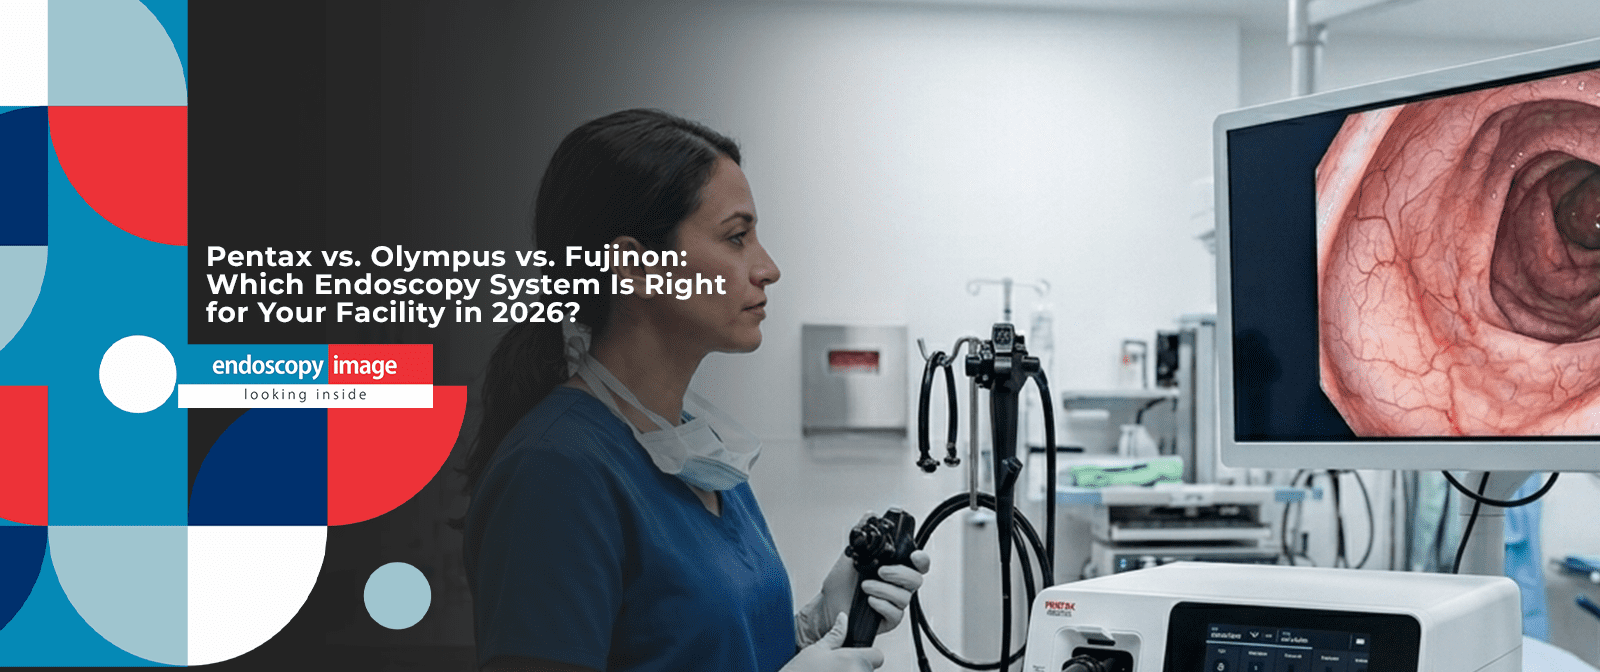
Pentax vs. Olympus vs. Fujinon: Which Endoscopy System Is Right for Your Facility in 2026?
Discover the key differences between endoscopy and colonoscopy procedures. Expert guide for medical..

admin
March 18, 2026
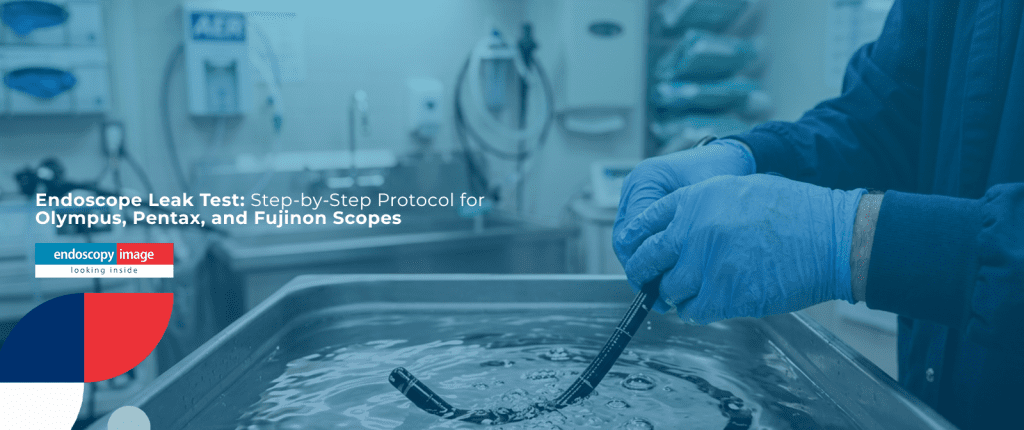
The endoscope leak test is one of the most critical — and most frequently skipped — steps in flexible endoscope reprocessing. It takes less than two minutes to perform correctly. Yet when skipped or done improperly, the consequences are severe: fluid invasion, damaged optical bundles, corroded electronics, and repair bills that can easily exceed the cost of a new instrument.
Whether you manage a high-volume GI unit or a private endoscopy suite, this guide walks you through how to leak test an endoscope correctly — with brand-specific steps for Olympus, Pentax, and Fujinon flexible scopes. We also cover the most common errors technicians make, how to read the results, and what to do when a leak is detected.
If your facility uses certified pre-owned or refurbished endoscopy equipment from any of these three manufacturers, this protocol applies equally. Proper leak testing is not optional — it is the frontline defense for your Endoscopy Equipment Investment.
An endoscope leak test — also called a leakage test or pressure integrity test — is a procedure that pressurizes the internal cavity of a flexible endoscope with air to detect any breach in its outer sheath, channels, or seals.
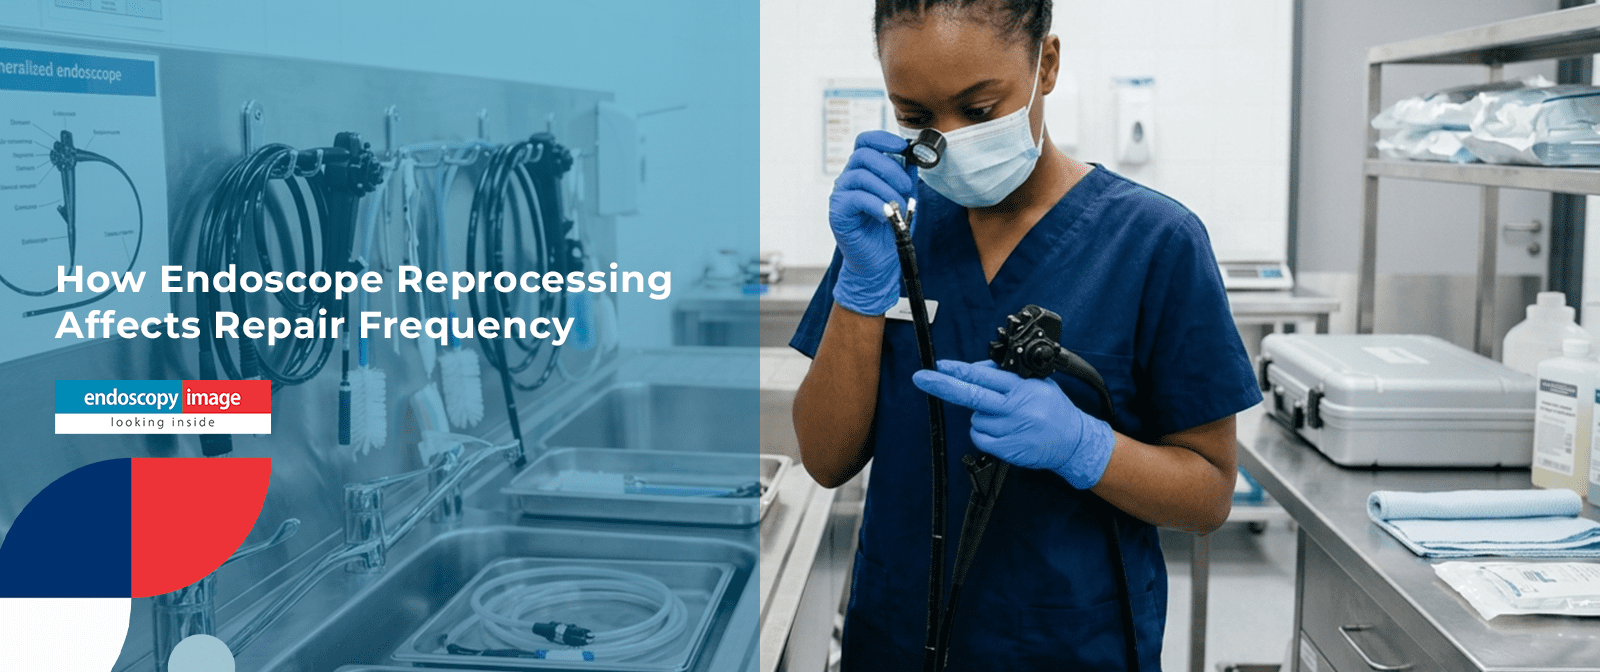
Flexible endoscopes are among the most complex instruments in clinical medicine. They integrate video chips, optical lenses, fiber-optic illumination, air/water channels, and suction pathways inside a thin, flexible polymer shell. None of these components tolerate fluid exposure. A micro-perforation invisible to the naked eye — caused by patient biting, excessive angulation, or routine wear — can allow disinfecting solutions to penetrate during reprocessing and cause catastrophic internal damage.
There are two accepted methods for performing an endoscope leak test:
For manual reprocessing environments, the wet method is strongly recommended and preferred by all three major manufacturers — Olympus, Pentax, and Fujinon — for its accuracy and simplicity.
Before starting any endoscope leak testing protocol, ensure the following are available and functional:
Each manufacturer uses a distinct leak test adapter and pressure specification. Using the wrong adapter — or misreading the pressure range — can produce false results. Use the table below as a quick reference before starting the procedure.
* Always refer to the specific IFU (Instructions for Use) supplied with your scope model. Pressure thresholds may vary by generation.
The following steps apply to all three brands — Olympus, Pentax, and Fujinon — for flexible gastroscopes, colonoscopes, and duodenoscopes undergoing manual reprocessing. Brand-specific notes are included for each critical step.
Wipe the external surface with a damp gauze immediately after the procedure. Remove and discard valves and accessories. Do not immerse the scope in any fluid before the leak test is completed.
While the endoscope is still dry, attach the water-resistant cap over the electrical contacts. This cap also provides the venting port for the leak test. Olympus note: the venting port is integrated into the soaking cap. Pentax note: the venting connector is located on the underside of the proximal video end (PVE).
Attach the brand-compatible adapter to the venting port. Ensure a secure, airtight connection. For Olympus MU-1 or ALT-Pro units, turn the power switch to the ON position to begin pressurization.
Using the handheld pump or automatic unit, pressurize the scope to the manufacturer-specified level. Do not submerge the scope until full pressure is achieved and confirmed. Confirm pressure is stable on the gauge before proceeding.
Before submerging, perform a full visual inspection: check the insertion tube, bending section, umbilical cord, and connector area. Confirm the angulation tip expands slightly under pressure — a sign the internal cavity is intact.
Fully submerge the endoscope in clean water — never in detergent or enzymatic solution during the leak test, as detergents create bubbles that mask true leak indicators. Keep the scope pressurized throughout this step.
Methodically inspect all surfaces while submerged: distal tip, bending section, insertion tube, light guide connector, and biopsy port. Continuous bubbles from any area indicate a leak. A single small bubble on initial submersion may be normal — sustained bubbling is not.
While still submerged, gently apply up/down and left/right angulation using the control knobs. This stresses the bending section — the most common site of micro-perforations — and can reveal leaks that appear only under flexion.
Remove the scope from the water while keeping it pressurized. Only then release the pressure (press the stop/vent button on automated units, or release the manual pump valve). Never disconnect the leak tester while the scope is still in water.
Log the result: scope model, serial number, date, technician, and pass/fail outcome. If passed, proceed to manual cleaning. If failed, quarantine the scope immediately and initiate the repair protocol.
If continuous air bubbles are observed during the water immersion test, follow these steps immediately:
The endoscope leak test is a non-negotiable step in flexible endoscope reprocessing — not a formality. Performed correctly and consistently, it protects patients from cross-contamination risk, prevents catastrophic fluid invasion, and extends the working life of your Olympus, Pentax, and Fujinon instruments by years.
The protocol takes under two minutes. The cost of skipping it can reach tens of thousands of dollars — and in a busy GI unit, an instrument grounded for repairs means cancelled procedures, frustrated patients, and revenue loss.
If your facility needs support with endoscope maintenance, technical evaluation, or sourcing certified pre-owned equipment from these three major brands, explore the full range of solutions available at Endoscopy Image.
➡️ The endoscope leak test must be performed after every procedure, before any immersion in liquid — including enzymatic cleaners, detergents, or high-level disinfectants. For scopes used in sterilization workflows, the test is mandatory after each use without exception.
➡️ No. Each brand requires a brand-specific adapter that connects to the scope's venting port. Universal leak tester pumps exist (like the LEAKAGE:MASTER), but they require the correct adapter for each brand. Using the wrong adapter will produce inaccurate results and may damage the venting port.
➡️ Wet testing submerges the pressurized scope in clean water to visually detect air bubbles — the most reliable method for manual reprocessing. Dry testing monitors internal pressure electronically without submersion, commonly used in automated endoscope reprocessors (AERs). Both methods are valid; follow the manufacturer's IFU for your specific workflow.
➡️ Yes. A properly refurbished endoscope from a certified repair facility should pass the full leak testing protocol. If you purchased used or refurbished endoscopy equipment, always perform the leak test upon arrival before first clinical use, and document the baseline result.
Discover the key differences between endoscopy and colonoscopy procedures. Expert guide for medical..
Discover the key differences between endoscopy and colonoscopy procedures. Expert guide for medical..

Discover the key differences between endoscopy and colonoscopy procedures. Expert guide for medical..

Discover the key differences between endoscopy and colonoscopy procedures. Expert guide for medical..
Deprecated: File Theme without comments.php is deprecated since version 3.0.0 with no alternative available. Please include a comments.php template in your theme. in /home/endoscop/public_html/wp-includes/functions.php on line 6131